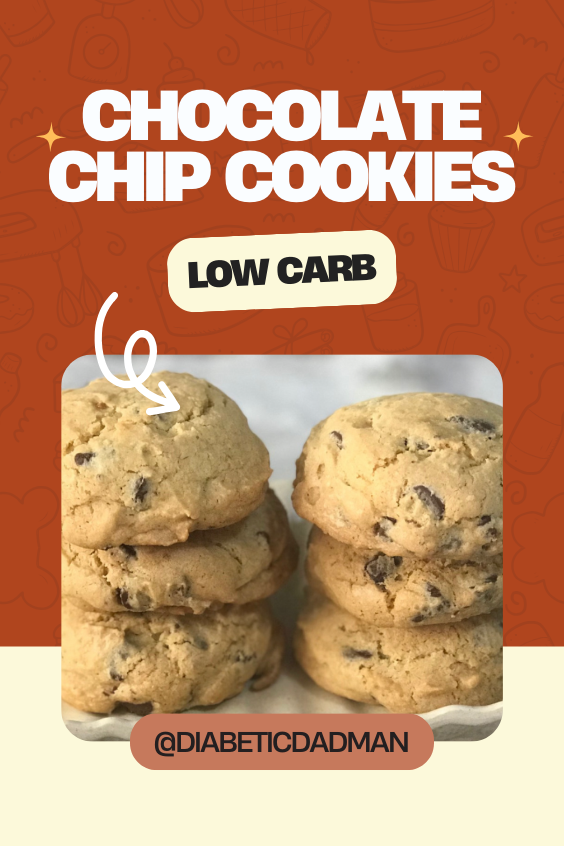
Santa loves a sweet treat, and I bet you do too, or you wouldn’t be checking this recipe out. Anyone can come up with a traditional Santatastic recipe, but maybe our bowl is full of jelly, and the holiday hero is prediabetic. Let’s help him out just in case with these diabetic-friendly chocolate chip cookies. Carb-managed chocolate chip cookies are the perfect way to celebrate Christmas while keeping blood sugar and sugar spikes under control. With a chewy texture, rich chocolatey flavor, and just the right amount of sweetness, these chocolate chip cookies are sure to become a holiday favorite.
Below, you’ll find the recipe broken down into simple steps, tips for achieving the perfect cookie, and links to the tools that make baking them a breeze.

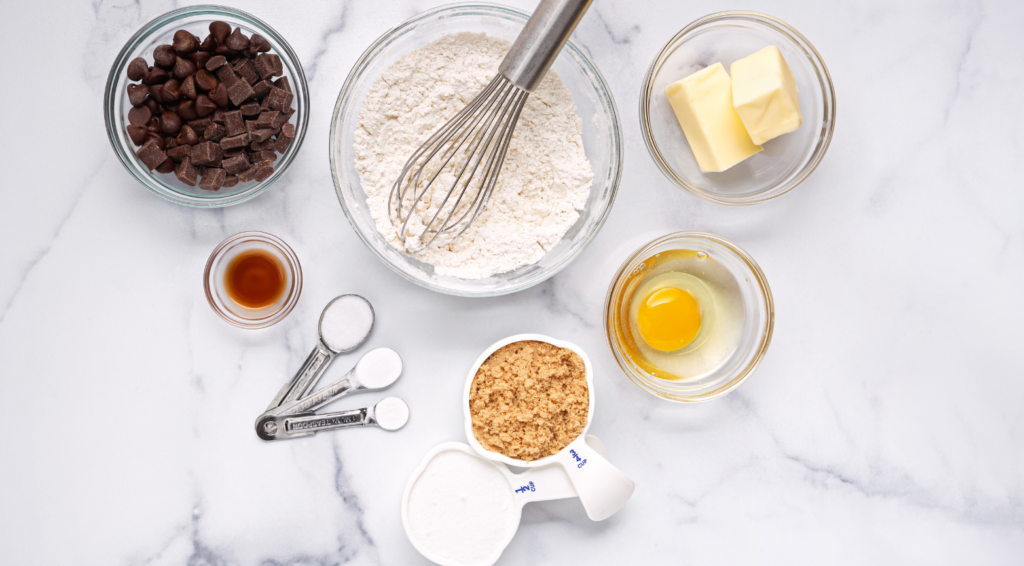
Ingredients and Why They Work
Dry Ingredients:
- 1 ½ cups almond flour: The base for these chocolate chip cookies, almond flour keeps them low-carb while providing a tender texture.
- 2 tablespoons coconut flour: Adds structure to the dough, balancing the almond flour.
- ½ teaspoon baking soda: Helps the chocolate chip cookies rise slightly, creating that soft, chewy texture.
- ¼ teaspoon salt: Enhances the sweetness and balances the flavors.
Wet Ingredients:
- ½ cup unsalted butter, softened (or coconut oil): Adds richness and helps create that classic chewy texture. Use coconut oil for a dairy-free version.
- ½ cup granular erythritol or monk fruit sweetener: A sugar-free alternative that sweetens without affecting blood sugar.
- ¼ cup sugar-free brown sweetener: Mimics the caramel notes of traditional brown sugar, adding depth to the flavor.
- 1 large egg: Binds the ingredients and gives the cookies structure.
- 1 teaspoon vanilla extract: Adds warmth and enhances the chocolate flavor.
Mix-Ins:
- ½ cup sugar-free chocolate chips: Brands like Lily’s or ChocZero are perfect for adding rich, indulgent chocolate flavor without sugar.

Instructions with Tools You’ll Love
- Preheat the Oven:
- Preheat your oven to 350°F (175°C) and line a baking sheet with parchment paper or a silicone baking mat for even baking and easy cleanup.
- Recommended Tools: A silicone baking mat ensures nonstick baking and even browning.
- Mix the Dry Ingredients:
- In a mixing bowl, whisk together almond flour, coconut flour, baking soda, and salt. Set aside.
- Cream the Butter and Sweeteners:
- In a large bowl, use a hand mixer or stand mixer to beat the softened butter, granular sweetener, and sugar-free brown sweetener until light and fluffy, about 2–3 minutes.
- Recommended Tools: A stand mixer makes creaming ingredients quick and consistent.
- Add Wet Ingredients:
- Beat in the egg and vanilla extract until fully combined.
- Combine Wet and Dry Ingredients:
- Gradually add the dry ingredients to the wet ingredients, mixing until a soft dough forms. The dough will be slightly sticky, which is normal.
- Fold in Chocolate Chips:
- Gently fold in the sugar-free chocolate chips, ensuring they’re evenly distributed throughout the dough.
- Scoop and Shape:
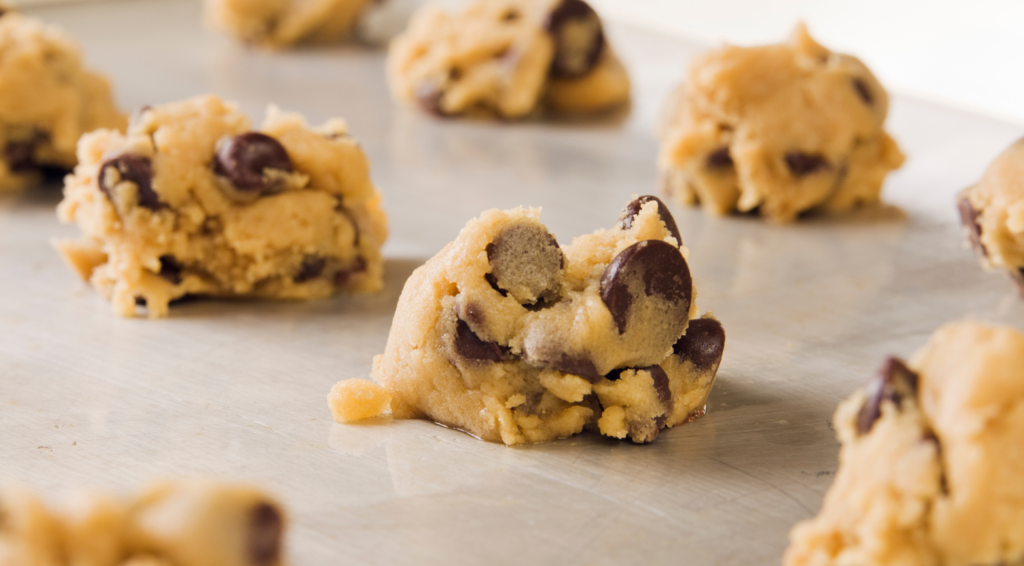
- Use a cookie scoop or tablespoon to portion the dough into small balls (about 1½ inches in diameter). Place them on the prepared baking sheet, spacing them about 2 inches apart. Slightly flatten the tops with your fingers or the back of a spoon.
- Recommended Tools: A cookie scoop ensures evenly sized cookies for uniform baking.
- Bake:
- Bake for 10–12 minutes, or until the edges are lightly golden. The centers may look slightly underdone—don’t worry, they’ll set as they cool.
- Cool:
- Let the cookies cool on the baking sheet for 5 minutes, then transfer to a wire rack to cool completely.
- Recommended Tools: A wire cooling rack prevents soggy bottoms and keeps cookies crisp.
Tips for Perfect Chocolate Chip Cookies
- Don’t Overbake: Remove the cookies when the edges are set, but the centers are still soft. They’ll firm up as they cool.
- Chill the Dough (Optional): For thicker cookies, chill the dough in the fridge for 30 minutes before baking.
- Even Portions: A cookie scoop ensures uniform cookies that bake evenly.
- Storage: Keep cookies fresh by storing them in an airtight container at room temperature for up to 5 days or freeze for longer storage.
Why These Chocolate Chip Cookies Are Diabetic-Friendly
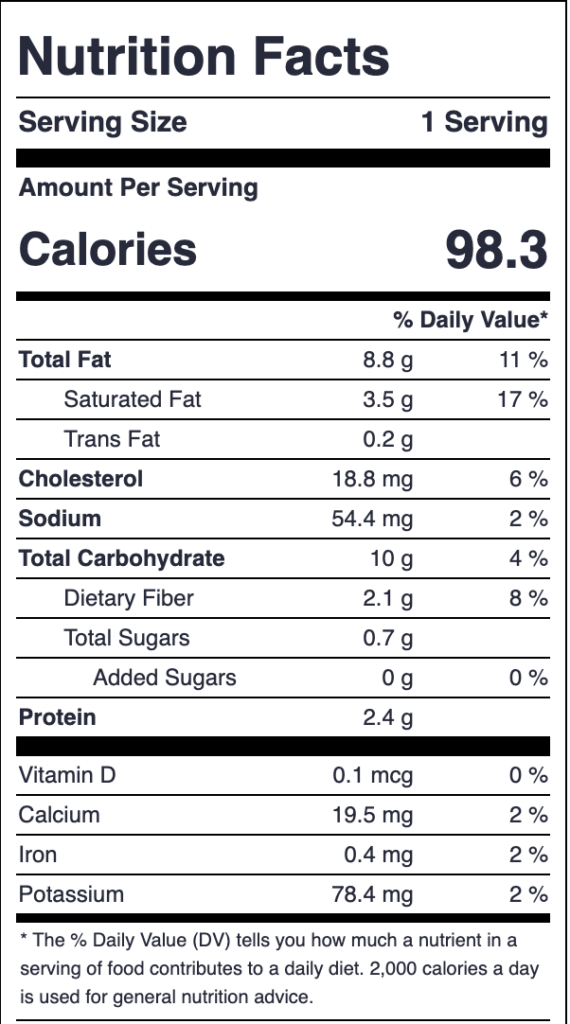
- Low-Carb Flours: Almond and coconut flours keep carbs low while adding flavor and texture.
- Sugar-Free Sweeteners: Erythritol and sugar-free brown sweeteners mimic the sweetness of traditional cookies without spiking blood sugar.
- Sugar-Free Chocolate Chips: Brands like Lily’s or ChocZero deliver indulgent chocolate flavor safely for diabetics.

Tools I Recommend
- Silicone baking mats for nonstick baking.
- Cookie scoop for evenly sized cookies.
- Stand mixer for easy creaming and mixing.
- Wire cooling rack for perfectly set cookies.
Find these tools here to simplify your baking process!
These diabetic-friendly chocolate chip cookies are sure to be a hit with Santa and anyone lucky enough to enjoy them. With their chewy texture, rich flavor, and festive appeal, they’re a holiday classic you can feel good about. Happy baking and Merry Christmas! 🎄🍪✨

Santa’s Low Carb Chocolate Chip Cookies
Ingredients
- 1 ½ cups almond flour
- 2 tbsp coconut flour
- ½ tsp baking soda
- ¼ tsp salt
- ½ cup unsalted butter, softened or coconut oil for dairy-free
- ½ cup granular monk fruit sweetener
- ¼ cup sugar-free brown sweetener like Swerve or Lakanto Golden
- 1 large egg
- 1 tsp vanilla extract
- ½ cup sugar-free chocolate chips like Lily's or ChocZero
Instructions
- Preheat your oven to 350°F (175°C) and line a baking sheet with parchment paper or a silicone baking mat.
- In a medium bowl, whisk together almond flour, coconut flour, baking soda, and salt. Set aside.
- In a large bowl, use a hand mixer or stand mixer to beat the softened butter, erythritol, and brown sweetener until light and fluffy, about 2–3 minutes.
- Beat in the egg and vanilla extract until fully combined.
- Gradually add the dry ingredients to the wet ingredients. Mix until a soft dough forms. The dough will be slightly sticky.
- Gently fold in the sugar-free chocolate chips, ensuring they’re evenly distributed throughout the dough.
- Use a cookie scoop or tablespoon to portion the dough into small balls, about 1½ inches in diameter. Place them on the prepared baking sheet, spacing them about 2 inches apart. Slightly flatten the tops with your fingers or the back of a spoon.
- Bake for 10–12 minutes, or until the edges are lightly golden. The centers may look slightly underdone—that’s okay! They’ll set as they cool.
- Let the cookies cool on the baking sheet for 5 minutes before transferring them to a wire rack to cool completely.
Notes
- Don’t Overbake: Take the cookies out of the oven when the edges are set but the centers are still soft.
- Chill the Dough (Optional): For thicker cookies, chill the dough in the fridge for 30 minutes before baking.
- Storage: Store cookies in an airtight container at room temperature for up to 5 days or freeze for longer storage.
- Low-Carb Flours: Almond and coconut flour keep the carb count low while providing a chewy texture.
- Sugar-Free Sweeteners: Erythritol and sugar-free brown sweeteners mimic the sweetness and caramel-like flavor of sugar without raising blood sugar.
- Sugar-Free Chocolate Chips: They add sweetness and indulgence while being safe for diabetics.

Leave a Reply